There are multiple ways to install or upgrade VMware ESXi. In the past, we have discussed how to upgrade ESXi via the HP Onboard Administrator, VMware Update Manager, and ESXCLI.
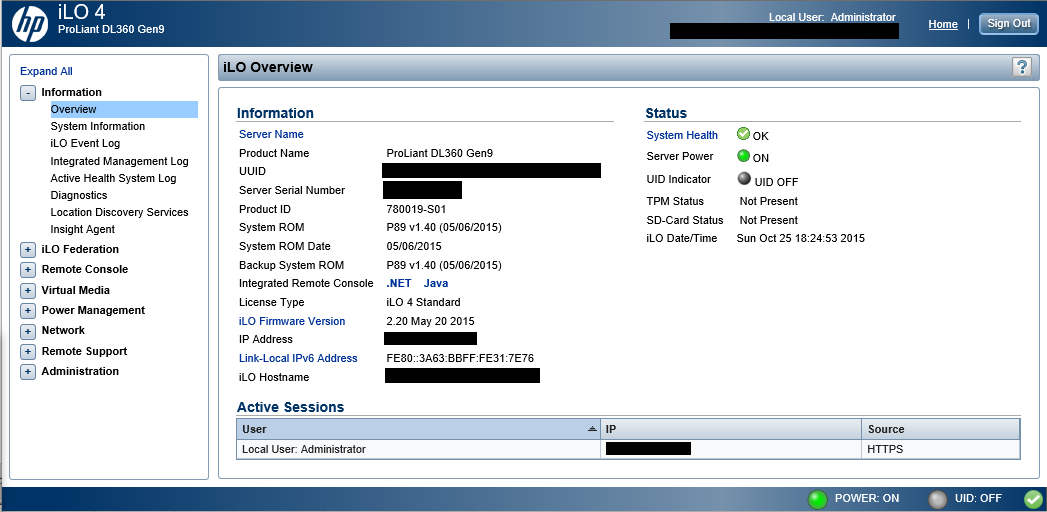
Today, we will walk through the ESXi upgrade process from HPE Integrated Lights-Out (iLO). If you are unfamiliar with iLO, it is HPE’s lights out management flavor to manage servers remotely.
Install or Upgrade ESXi from HPE iLO
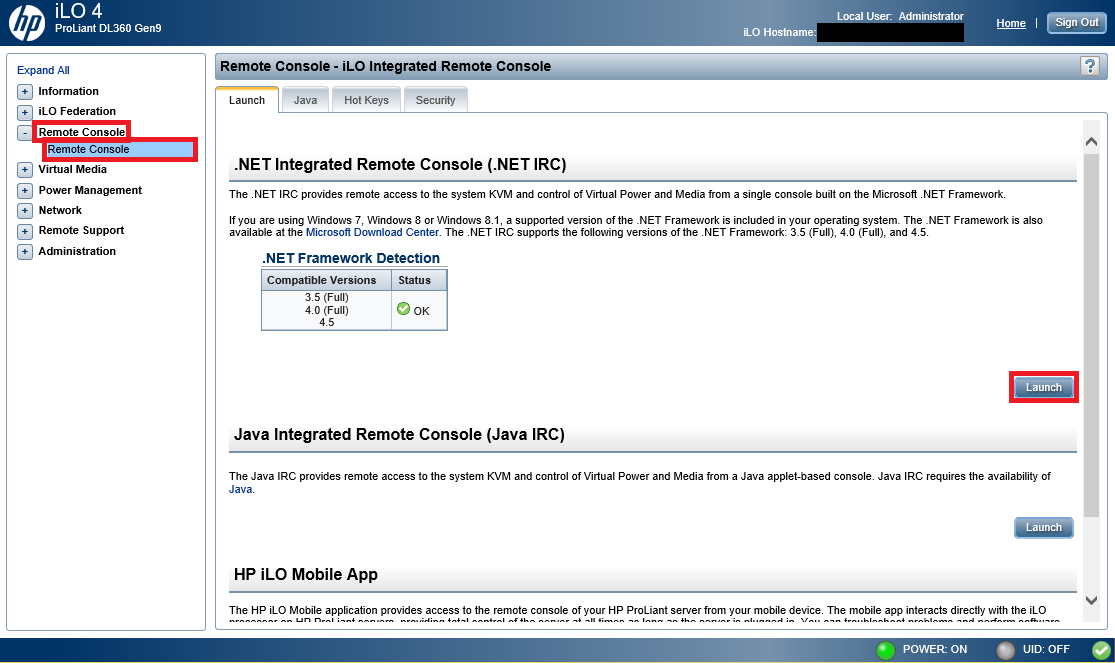
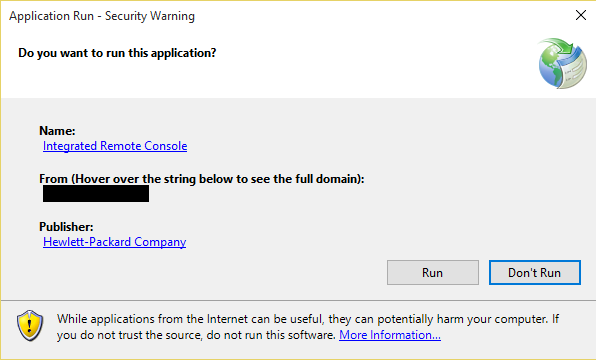
To begin, launch an iLO Remote Console Session.
In this instance, the ESXi image resides locally. As this is the case, we will remotely mount the image via iLO to the server. To do so, click Virtual Drives and select Image File.
Locate the local ESXi ISO and select Open.
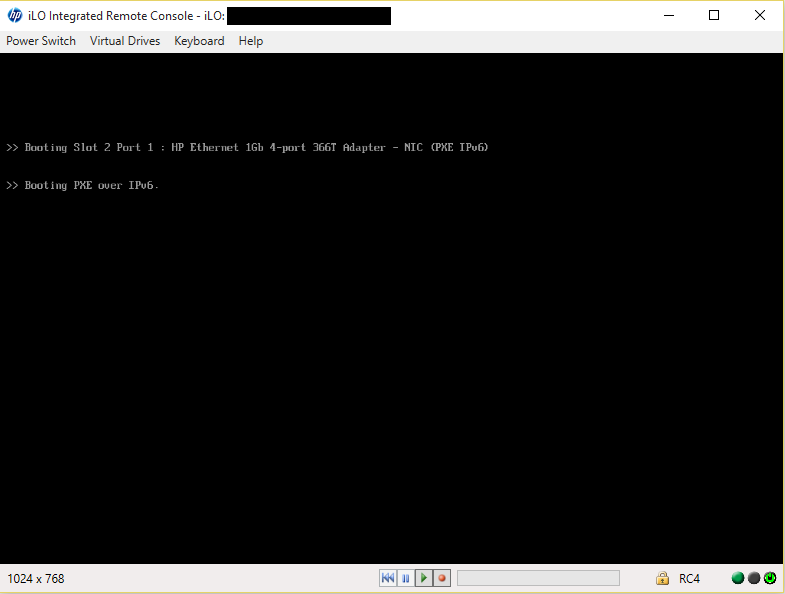
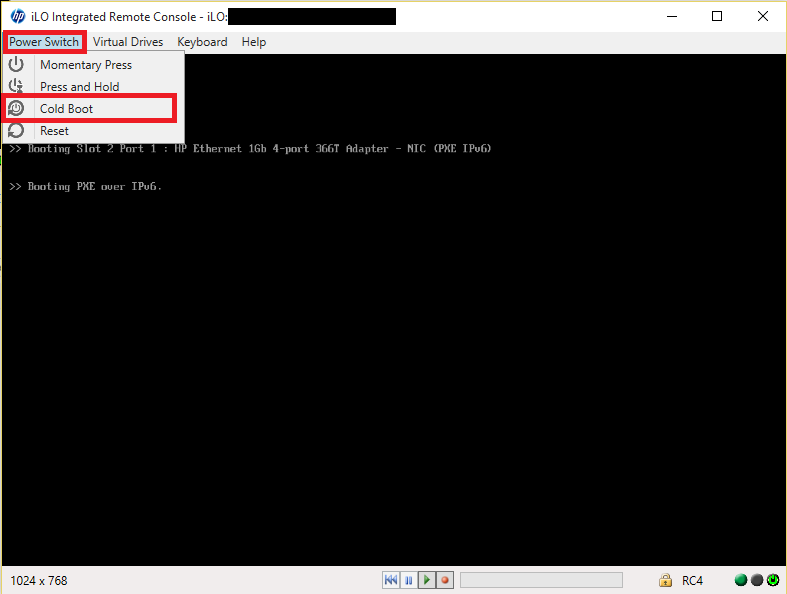
In order to boot from the image, we will reboot the server. Select the Power Switch menu item and click Reset.
If you are unfamiliar with the HP Power Switch options, here is a quick rundown.
- Momentary Press—Similar to pressing the physical power button. Depending on the OS configuration, this can initiate a graceful shutdown.
- Press and Hold—Similar to holding the physical power button for 5 seconds and then releasing it.
- Reset—Will force the server to warm-boot.
- Cold Boot— Similar to pulling the power from the server (immediately removes power).
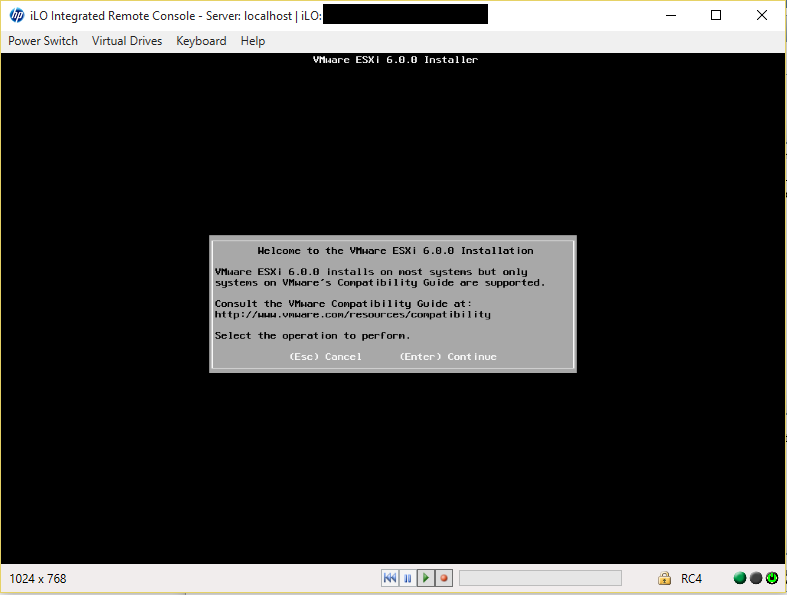
After the host boots, Continue with the ESXi installation.
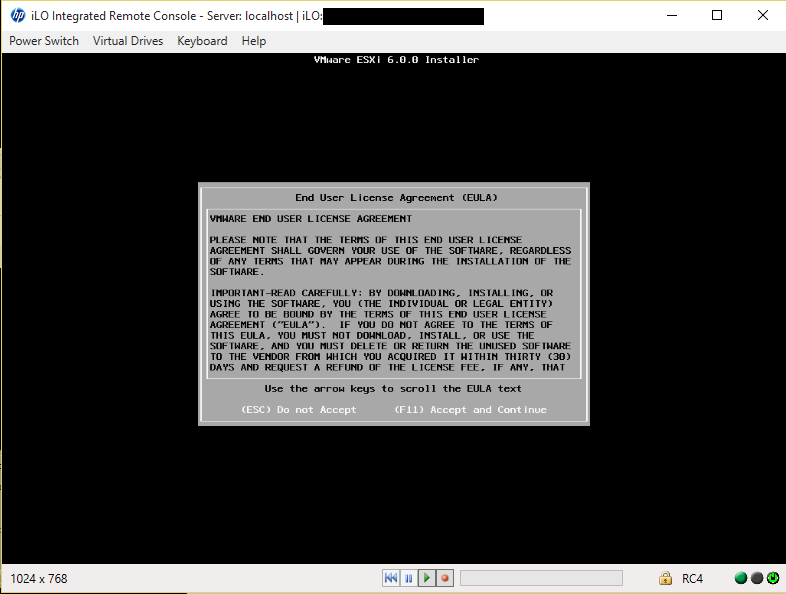
Press F11 to accept the EULA.
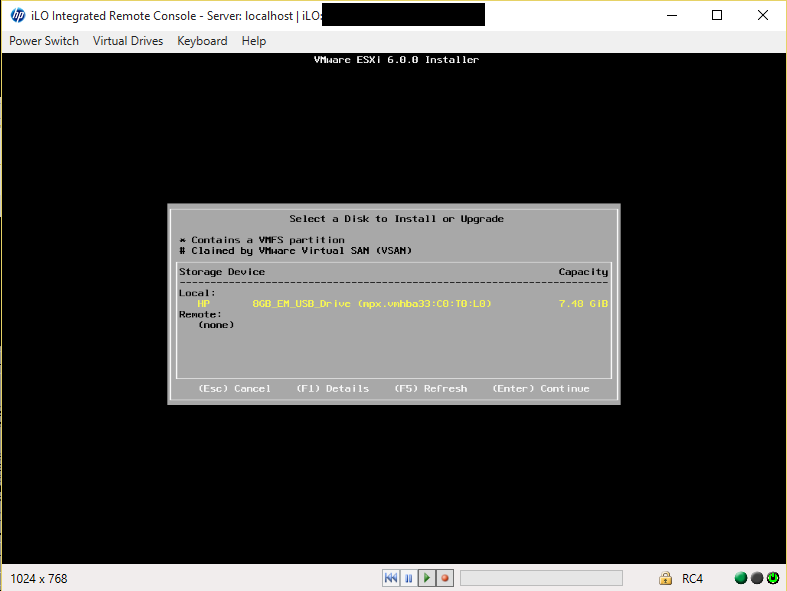
Select the disk to upgrade and press Enter. If you are unsure if there is currently an ESXi install on the storage disk, press F1 to view the device details.

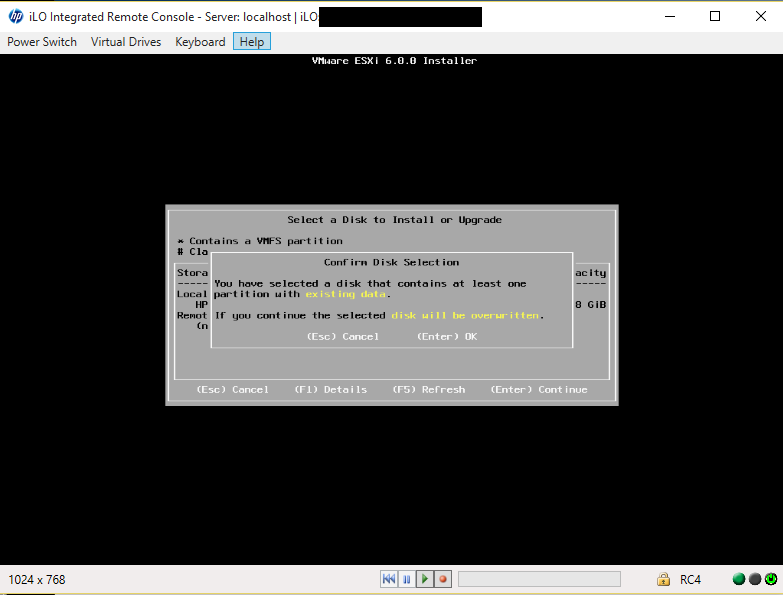
If an installation of ESXi is found, you will be prompted to upgrade or install new.
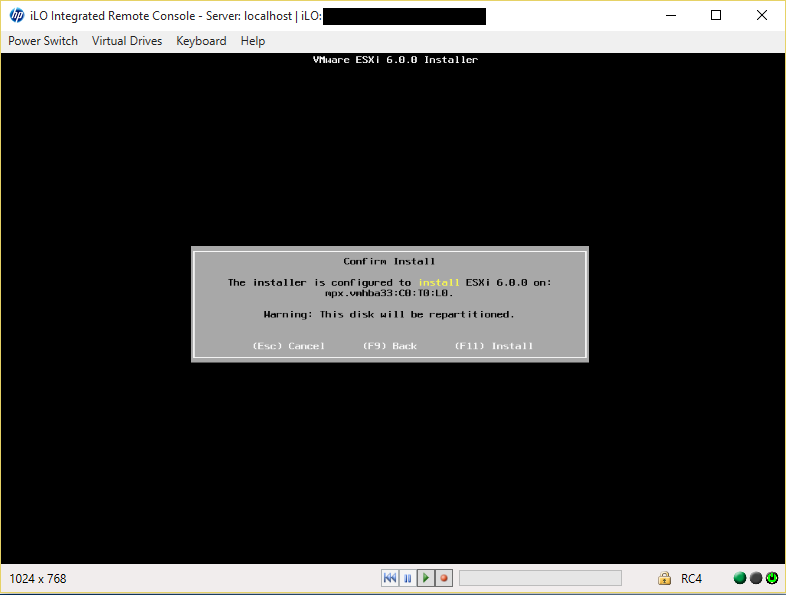
Press F11 to begin the upgrade.

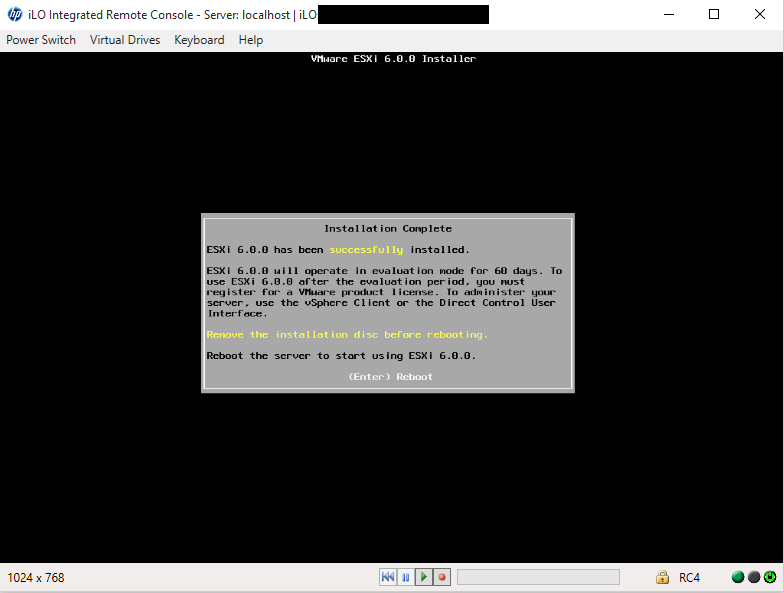
Once the upgrade is completed, you will be prompted to remove the installation media and then reboot.
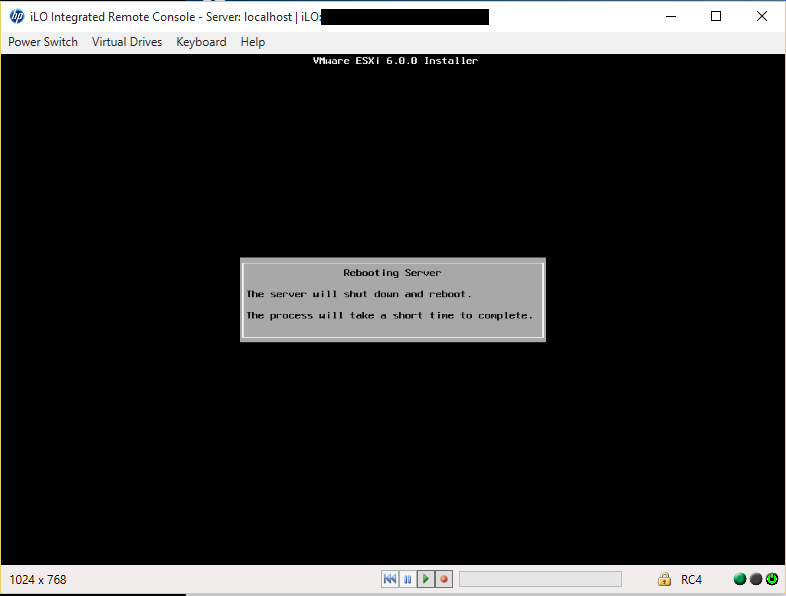
Before hitting Enter, select the Virtual Drives menu item and uncheck the Image File. Now, navigate back to the console and hit Enter to reboot the server.
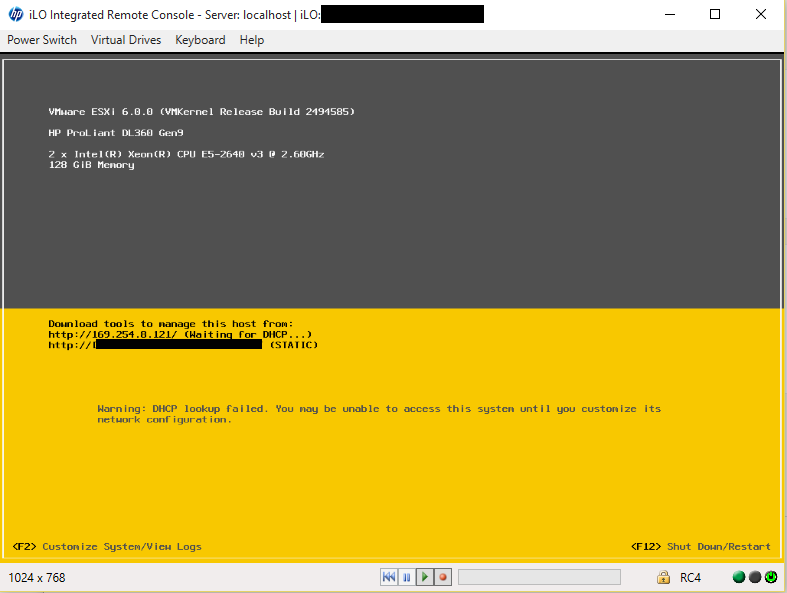
After the server reboots, you are ready to configure ESXi!